Do you ever slip into your car after a long day and get a whiff of… something? Or maybe your initial thoughts were punctuated by, “When did my seat evolve into a grease-covered battleground?” Don’t panic, this is more common than you think.
Your vehicle’s upholstery can be subjected to a stain’s relentless assault whether you’ve worked in a factory all day or simply enjoy collecting life’s little spills. But the good news is that restoring your interior’s glory does not call for expensive detailing equipment. We will guide you through the process of transforming your neglected car interiors using basic tools and a little elbow grease to make it look and feel just like a professional detailer has been there. So, which direction do we head to make sure your vehicle’s seats look showroom-fresh?
There’s only one place to go.
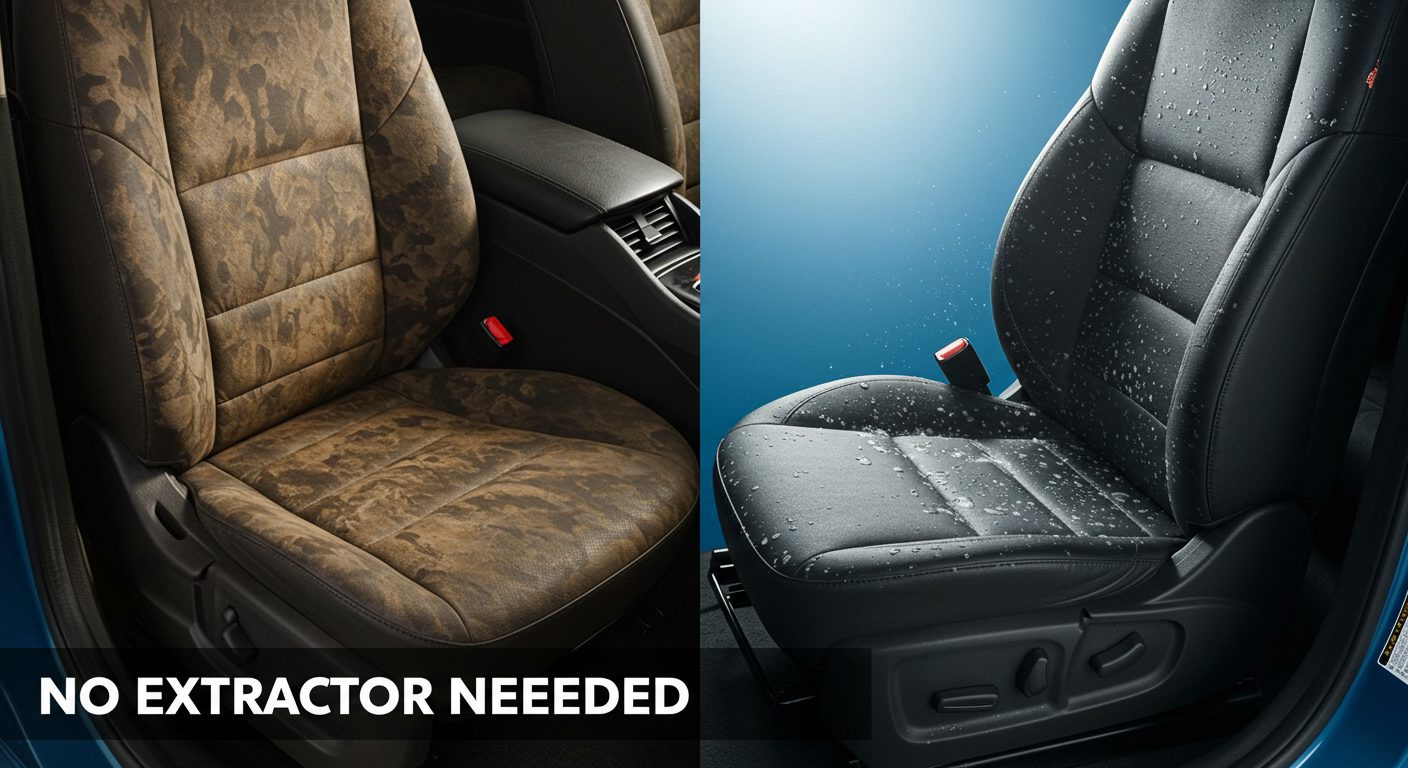
1. You Really Don’t Need an Extractor!
Detailing professionals sing praises about extractors—these magical pieces of equipment rinse out dirt, sucking it away with a vacuum. In case you don’t have one, and don’t feel like spending hundreds of dollars, rest assured you’re not completely out of luck. The right cleaning solution paired with a drill brush and microfiber towels guarantees you eye-catching results. It’s not merely about the equipment at hand, but the technique you opt for. Think of it as detailing on a dime – practical, powerful, and way more satisfying when you do it yourself.
2. Start with the Right Cleaner – Diluted for Safety and Speed
Our detailer used Super Clean, diluted at a 10-1 (10 parts water to 1 part cleaner) ratio. This hits the sweet spot—strong enough to kill grease and grime while being safe enough not to damage any fabric.
Don’t forget to test any cleaner on a small, inconspicuous area first. Every fabric has a different reaction, and it’s best to be safe than sorry.
3. Generously Spray the Seats, Especially Their Most Heavily Worn Areas
Some of the dirtiest parts of your seats include the bottom cushion where you sit, the bolster sides, and the armrest areas where skin oils build up. Go ahead and soak those areas with your diluted cleaner using a spray bottle. The longer and more evenly solution sits, the better it will break down grime.
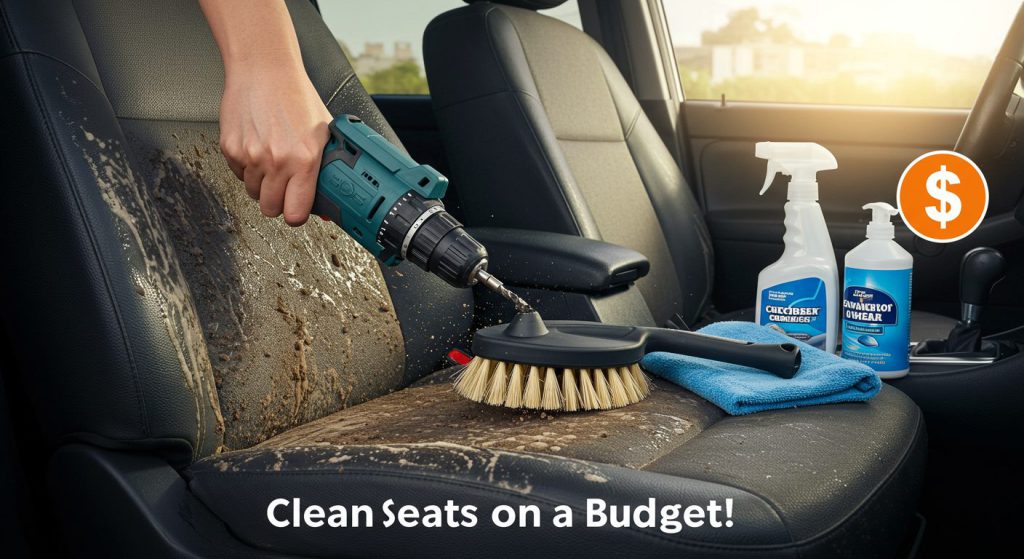
4. Bring on the Drill Brush for an Agitation Revolution
This part is a bit of fun – grab a soft-bristle scrub brush and attach it to your drill. The motion agitates the grime loose, foams the solution, and starts revealing cleaner fabric underneath. Have no drill? A stiff hand brush works just as well—years of exercise and inflammation make no difference. Either way, you’re halfway to fresh.
5. Clean Like a Pro – Microfiber Towels Make the Best Mops
Once everything’s foamed up and loose, it’s time to mop it up. Grab a clean microfiber towel and start blotting and wiping.
Pro tip: Keep switching to a clean side of the towel frequently—spreading dirt is the last thing you want. When the towel turning dark and the fabric beneath it looking brand new, you’ll know it’s working.
6. Repeat in Sections for Best Results
Take it one panel at a time—seat bottom, backrest, sides. Don’t rush it. Making sure one area is clean before moving on guarantees that the results are non-patching, smudge free and consistently clean. And the contrast after just one section is astonishing. Highly satisfying (and yes, perhaps addictingly) so.
7. Optional – But Preferred Without Derivative Change
An extractor does provide a deeper clean by rinsing out all chemicals and gunk, and using one is sure is good. But if you are low on funds or time, this method gets you 80% to 90% of the way there.
Looking for quicker drying methods? Use a fan, park the car in the sun, or open the car doors.
8. Aside from the Seats This Works for Other Areas Too
Have a dirty greasy door panel or a center console? This technique will definitely work there too. Your cleaner and drill brush combination can restore that as new look wherever body oils and dirt build up.
Always remember to perform a spot test first, particularly on more gentle surfaces.
Key Takeaways
- You don’t need expensive tools—great results are possible with just a cleaner, a brush, and towels.
- Dilute your cleaning solution to balance power and fabric safety.
- Focus on high-traffic areas like seat bottoms, bolsters, and armrests.
- Agitate with a drill brush to loosen deep grime fast.
- Microfiber towels lift dirt without smearing it around.
- Clean one section at a time for consistent, impressive results.
- An extractor is nice—but optional for home detailing.
- Use this method all over your car interior, not just the seats.
The Bottom Line: Clean Seats, Clean Mind
At the end of the day, your car is more than just a machine—it’s your mobile home, your escape pod, your weekend adventure wagon. And keeping it clean doesn’t have to be complicated or expensive.
With a few simple tools and a bit of attention, you can transform even the greasiest seats into a space you’re proud to slide into. Whether you’re a weekend detailer or just trying to freshen things up between road trips, this method is a budget-friendly, satisfying way to care for your ride.
So go ahead—give your seats some love. You (and your passengers) will feel the difference the moment you sit down.